DIY Wood Fence Post Caps: A Comprehensive Guide to Protecting and Beautifying Your Fence
A well-maintained fence not only enhances the curb appeal of your property but also provides essential security and privacy. One often-overlooked element that plays a crucial role in the longevity and aesthetics of your fence is the fence post cap. In this comprehensive guide, we’ll delve into the world of DIY wood fence post caps, exploring their benefits, different types, construction methods, and essential maintenance tips. Whether you’re a seasoned woodworker or a DIY enthusiast, this article will equip you with the knowledge to create stunning and functional DIY wood fence post caps that will protect your fence for years to come.
Why are Fence Post Caps Important?
Before diving into the DIY aspect, it’s essential to understand why fence post caps are so important. These seemingly small additions offer several significant benefits:
- Protection from the Elements: The tops of fence posts are particularly vulnerable to water damage. Rain and snow can seep into the wood, causing it to rot, crack, and eventually weaken. DIY wood fence post caps act as a barrier, preventing water from penetrating the post and extending its lifespan.
- Prevention of Splitting and Cracking: Exposure to sun and fluctuating temperatures can cause the wood in fence posts to expand and contract, leading to splitting and cracking. Fence post caps help to minimize these effects by providing a protective layer.
- Enhanced Aesthetics: Beyond their functional benefits, DIY wood fence post caps can significantly enhance the overall appearance of your fence. They add a finished, polished look and can be customized to match your personal style and the architectural design of your home.
- Deterring Pests: In some cases, DIY wood fence post caps can help deter pests, such as birds and insects, from nesting or damaging the posts.
Types of DIY Wood Fence Post Caps
There are various types of DIY wood fence post caps you can create, each offering a unique aesthetic and level of protection. Here are some popular options:
Flat Caps
Flat caps are the simplest and most straightforward type of fence post cap. They consist of a flat piece of wood that sits on top of the post, providing basic protection from the elements. They are easy to construct and can be made from various types of wood.
Pyramid Caps
Pyramid caps feature a sloping, pyramid-shaped top that adds a touch of elegance to your fence. They are slightly more complex to build than flat caps but offer better water runoff and a more visually appealing design.
Gothic Caps
Gothic caps are characterized by their pointed, steeple-like shape. They add a dramatic and sophisticated look to your fence and are often used in more formal or traditional settings. They require more advanced woodworking skills to create.
Ball Caps
Ball caps feature a rounded, ball-shaped top that adds a whimsical and playful touch to your fence. They are relatively easy to construct and can be made from various types of wood or even repurposed materials like wooden balls.
Custom Designs
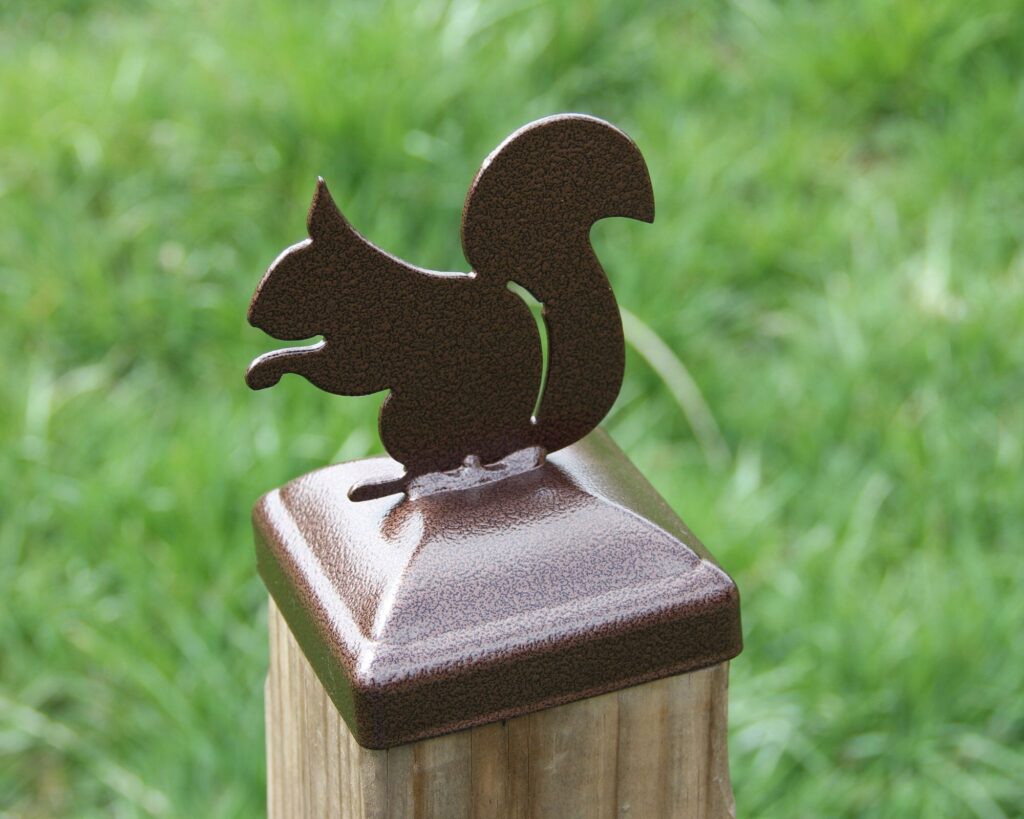
The beauty of DIY is the freedom to create something truly unique. You can design your own custom DIY wood fence post caps to match your specific style and preferences. Consider incorporating decorative elements, such as carvings, inlays, or metal accents, to personalize your fence.
Materials and Tools Needed for DIY Wood Fence Post Caps
Before you begin your DIY wood fence post caps project, gather the necessary materials and tools:
- Wood: Choose a durable, weather-resistant wood such as cedar, redwood, pressure-treated pine, or cypress. The type of wood you select will impact the longevity and appearance of your fence post caps.
- Measuring Tape: Accurate measurements are crucial for creating well-fitting fence post caps.
- Saw: A saw is needed to cut the wood to the desired dimensions. A miter saw is ideal for making precise angle cuts, but a hand saw or circular saw can also be used.
- Drill: A drill is used to create pilot holes for screws and to attach the fence post caps to the posts.
- Screws or Nails: Choose weather-resistant screws or nails to securely attach the fence post caps.
- Wood Glue: Wood glue can be used to reinforce the joints and create a stronger bond.
- Sandpaper: Sandpaper is used to smooth the edges and surfaces of the wood, creating a more polished finish.
- Wood Finish: Apply a weather-resistant wood finish, such as paint, stain, or sealant, to protect the fence post caps from the elements and enhance their appearance.
- Safety Glasses and Gloves: Always wear safety glasses and gloves when working with wood and power tools.
Step-by-Step Guide to Building DIY Wood Fence Post Caps
Here’s a general step-by-step guide to building DIY wood fence post caps. The specific steps may vary depending on the type of cap you choose to create.
Step 1: Measure Your Fence Posts
Accurately measure the outside dimensions of your fence posts. This measurement will determine the size of the fence post caps you need to create. Add a slight overhang (about 1/2 inch on each side) to allow for expansion and contraction of the wood.
Step 2: Cut the Wood
Using a saw, cut the wood to the desired dimensions based on your measurements. For flat caps, you’ll need to cut a square or rectangle of wood. For pyramid caps, you’ll need to cut four pieces of wood at the appropriate angles to form the pyramid shape. For gothic caps, you’ll need to use more advanced cutting techniques to create the pointed shape.
Step 3: Assemble the Cap
Assemble the cap using wood glue and screws or nails. For flat caps, simply attach the flat piece of wood to the top of the post. For pyramid caps, glue and screw the four pieces of wood together to form the pyramid shape. For gothic caps, carefully assemble the pieces to create the pointed shape, ensuring that the joints are strong and secure.
Step 4: Sand the Cap
Sand the edges and surfaces of the cap to smooth out any rough spots and create a more polished finish. Use progressively finer grits of sandpaper, starting with a coarse grit and finishing with a fine grit.
Step 5: Apply Wood Finish
Apply a weather-resistant wood finish to protect the cap from the elements and enhance its appearance. Choose a finish that complements the style of your fence and your home. Follow the manufacturer’s instructions for application and drying time.
Step 6: Attach the Cap to the Post
Attach the finished cap to the top of the fence post using screws or nails. Make sure the cap is securely attached and sits flush against the post. You may need to pre-drill pilot holes to prevent the wood from splitting.
Tips for Creating Long-Lasting DIY Wood Fence Post Caps
To ensure that your DIY wood fence post caps last for years to come, consider these tips:
- Choose the Right Wood: Select a durable, weather-resistant wood that is suitable for outdoor use. Cedar, redwood, pressure-treated pine, and cypress are all excellent choices.
- Use High-Quality Fasteners: Use weather-resistant screws or nails to prevent rust and corrosion.
- Apply a Weather-Resistant Finish: Apply a high-quality wood finish to protect the wood from the elements. Reapply the finish every few years to maintain its protective properties.
- Proper Installation: Ensure that the fence post caps are securely attached to the posts and that there are no gaps or cracks where water can penetrate.
- Regular Maintenance: Inspect your fence post caps regularly for signs of damage or wear. Repair any cracks or damage promptly to prevent further deterioration.
Maintenance and Care of Wood Fence Post Caps
Even with proper construction and materials, DIY wood fence post caps require regular maintenance to ensure their longevity. Here are some key maintenance tips:
- Regular Cleaning: Clean your fence post caps regularly with a mild soap and water solution to remove dirt, debris, and mildew.
- Inspect for Damage: Inspect your fence post caps regularly for signs of cracks, splits, or rot. Repair any damage promptly to prevent further deterioration.
- Reapply Wood Finish: Reapply a weather-resistant wood finish every few years to maintain its protective properties.
- Trim Vegetation: Trim any vegetation that is growing near the fence post caps to prevent moisture buildup and promote airflow.
- Winter Protection: In areas with heavy snowfall, consider covering your fence post caps with tarps or plastic sheeting to protect them from the weight of the snow and ice.
Cost Considerations for DIY Wood Fence Post Caps
One of the advantages of DIY wood fence post caps is the potential cost savings compared to purchasing pre-made caps. The cost of your DIY project will depend on several factors, including the type of wood you choose, the size and complexity of the caps, and the cost of materials like screws, glue, and finish. However, in most cases, you can save a significant amount of money by building your own fence post caps.
Consider these cost-saving tips:
- Shop Around for Materials: Compare prices at different lumber yards and hardware stores to find the best deals on wood and other materials.
- Use Recycled or Repurposed Materials: Consider using recycled or repurposed materials, such as reclaimed wood or old fence boards, to reduce your costs.
- Buy in Bulk: If you have a large fence, consider buying materials in bulk to save money.
- DIY Labor: By doing the work yourself, you’ll save on labor costs.
Conclusion
DIY wood fence post caps are a simple yet effective way to protect and beautify your fence. By following the steps and tips outlined in this guide, you can create stunning and functional fence post caps that will enhance the curb appeal of your property and extend the lifespan of your fence. So, gather your materials, unleash your creativity, and start building your own DIY wood fence post caps today! Remember to choose the right wood, use high-quality fasteners, apply a weather-resistant finish, and perform regular maintenance to ensure that your fence post caps last for years to come. A little effort can go a long way in preserving the integrity and beauty of your fence.
[See also: Fence Repair: A Comprehensive Guide] [See also: Choosing the Right Wood for Your Fence] [See also: How to Stain a Wood Fence]
